Add a new twist to a Winter classic when you make our Bubble Wrap Snowflake Art Project with your kids.
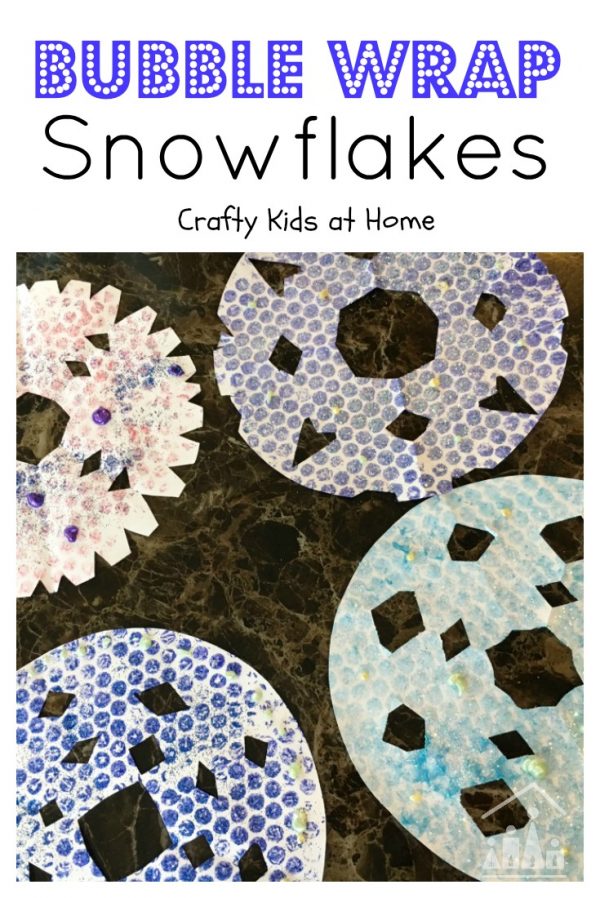
Some arts and crafts activities will never go out of fashion. I remember making many snowflakes when I was a child. Now I enjoy making them with my own children every Winter. To jazz our snowflake art up this year, we have teamed them up with our favourite junk art material – Bubble Wrap.
Bubble Wrap is brilliant for adding a quirky new texture to a kids art project. See here for lots more ideas.
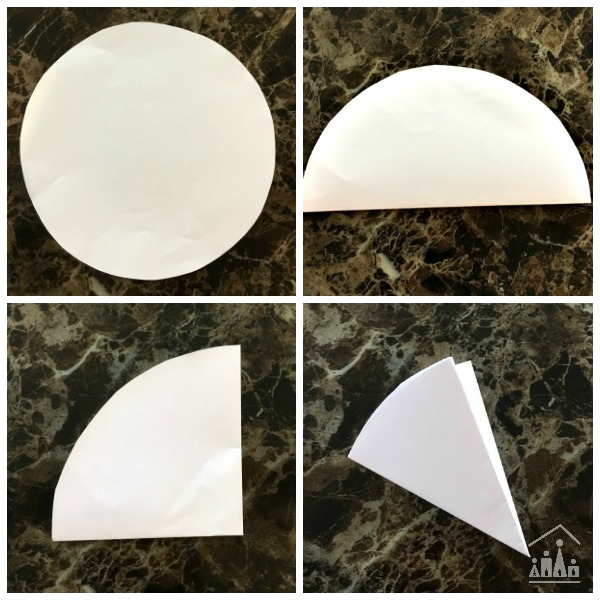
How to fold a Snowflake Template
Bubble Wrap Snowflake Art Project
This post contains affiliate links for your convenience.
Supplies
Ahead of the Activity
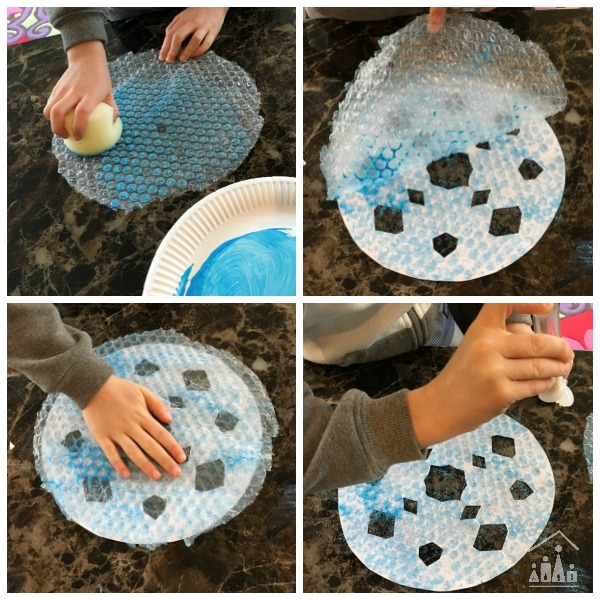
I cut out circles of paper and circles of bubble wrap. Then loaded up plates of paint so we were ready to go with our winter art project.
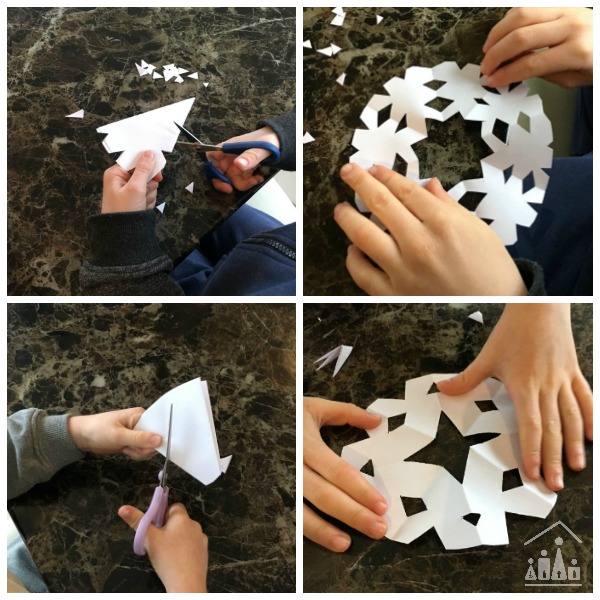
The boys snipped away creating a brand new pattern for each of their snowflakes, just like snowflakes have in real life. We haven’t seen any real snow yet this Winter over here in Ireland, but there is still time. Have you had any yet this year?
To add the cool bubble wrap effect the boys splodged paint over their bubble wrap with a sponge, laid it over their snowflakes and pressed firmly down. Peeling back the bubble wrap revealed the quirky paint effect, which they then added a scattering of glitter. Well that might have been more of a deluge of glitter in some cases.
Leaving a trail of glitter behind them, we set them to one side to dry before moving onto our next Winter Art Project.
What are your favourite childhood Winter Art Projects? I would love to see them over on our Facebook page.
For more ideas on how to use recyclables in your crafts check out our latest book, Green Crafty & Creative.


