Make the world a more beautiful place with our Bubble Wrap Lupines craft inspired by the children’s’ book “Miss Rumphius.”
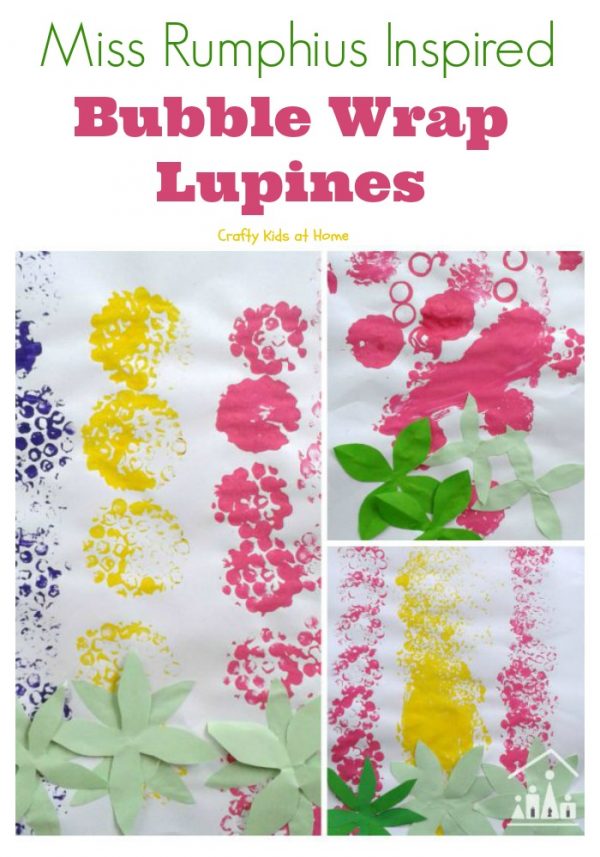
We are delighted to be taking part in our first giveaway over here at Crafty Kids at Home. We have teamed up with some flower loving kids activities and home and garden blogging friends, to offer you the chance to win 1 of 6 copies on the best-selling children’s book, “Miss Rumphius,” plus a packet of lupine seeds harvested by the giveaway host, Nemcsok Farms. Please see the giveaway below for full terms and conditions.
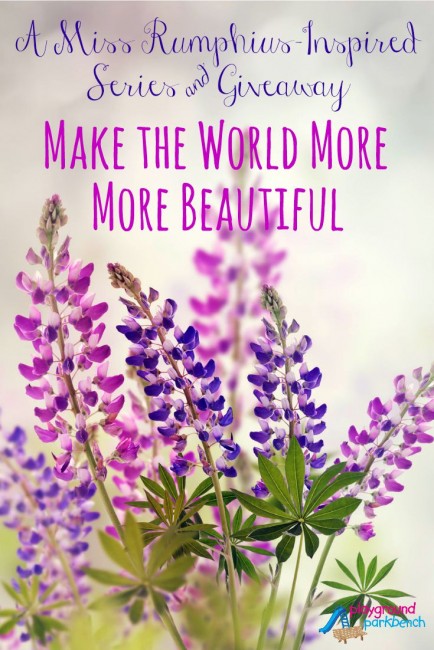
For those not familiar with this classic tale, it charts Miss Rumphius’s life from childhood through to adulthood and centres on the promise she made to her grandfather. She promised to travel the world, live by the sea and make the world more beautiful. She does indeed travel the world and then settles by the sea. To make the world more beautiful, she scatters lupine seeds far and wide to share the beauty of these flowers with everybody.
I am very much a beginner in the garden, so I will leave it up to my friend Evelyne over at Nemcsok Farms to give you all of the details on what lupines are and how to grow and care for them in your own garden. But what I can do is show you how to recreate lupines in a craft with your children.
How to make Bubble Wrap Lupines
It was very easy to decide what to do for our lupine activity. One look at a lupine and it was an obvious choice on how to recreate the flowers in a piece of artwork, with bubble wrap of course.
Regular readers will already know that we love using bubble wrap in our activities over here at Crafty Kids at Home. Our most popular bubble wrap activities to date have been our Bubble Wrap Jellyfish and our Bubble Wrap Tortoise.
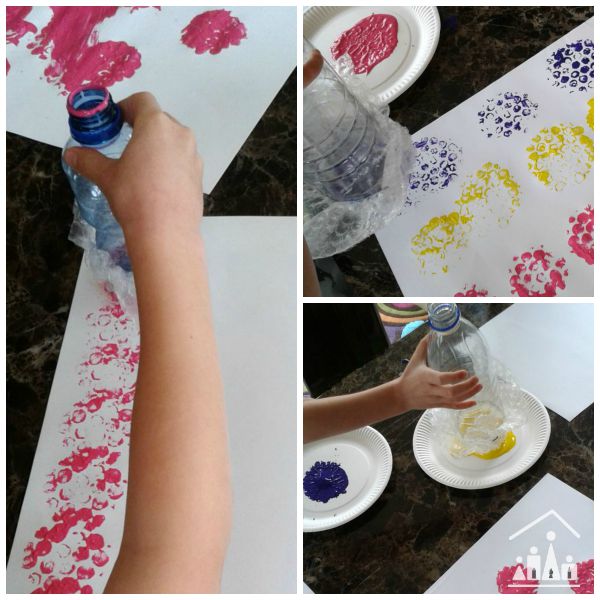
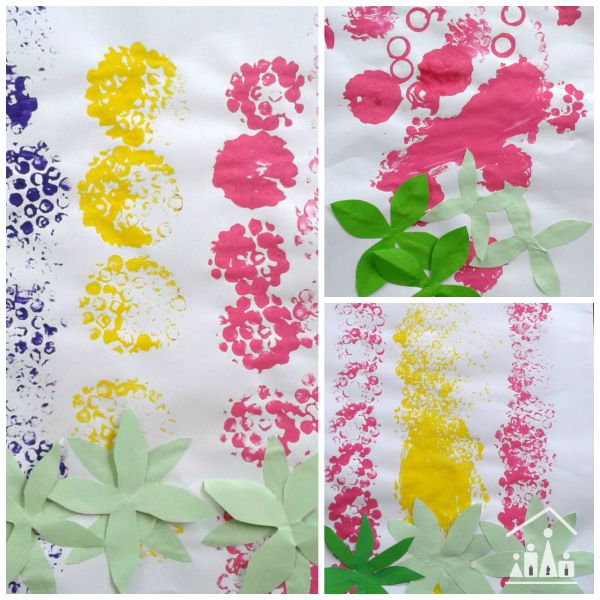
I prepared 3 bubble wrap stamps ahead of the activity. One for each of the three colours we were going to use to create our bubble wrap lupines with. I took an empty soda bottle and secured a square of bubble wrap around the bottom of it using an elastic band.
I then loaded up 3 paper plates with yellow, purple and pink paint before handing each of my 3 children a large sheet of paper to create their bubble wrap lupines on.
My two sons did a great job and my 3 year old daughter did a great interpretation for her age!
We left the paint to dry and then made a start on making the distinctive leaves using green squares of paper.
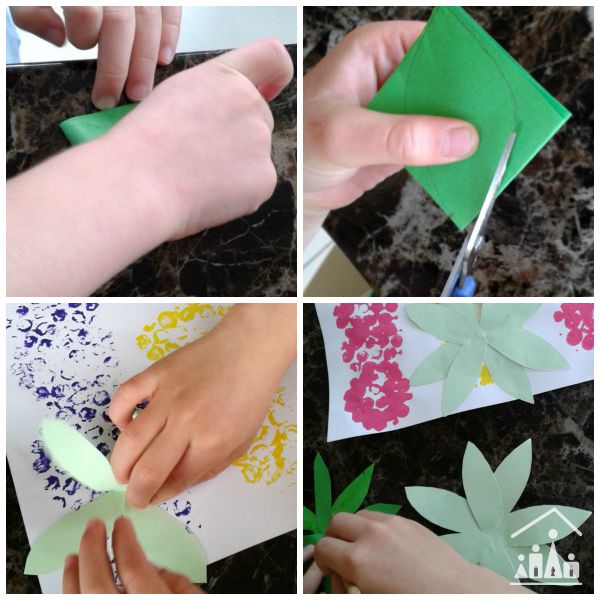
To make each leaf we folded a square of paper in half and then into quarters. We then drew the shape of leaf onto one side of the folded paper and cut this out, making sure NOT to snip the folded corner. We then carefully unfolded the paper.
I had planned to use one piece of paper for each leaf. But my 7 year old son discovered if you put two of the leaves together, they looked much more realistic and I had to agree with him.
Once the paint had dried, we then stuck then down onto the bottom of the paper to finish our bubble wrap lupines off.
Every day this week we are sharing a different lupine inspired craft activity, so please head over to the landing page over at Playground Park bench to find links to them all.
You might also like:
An Invitation to Cut Fresh Flowers
Fantastic Felt Flower Craft


Comments are closed.