Turn your Glue Resist Art up a notch when you add a Hot Glue Gun to the activity.
I bought myself a hot glue gun a few years back now, but it seems that my kids are getting more use of it than I am. I had grand plans for all of these DIY projects that I was going to complete with it. But apart from a very impressive Christmas Bauble Wreath, it’s barley been out of the cupboard.
It was definitely time to dust it down and give it an outing, so we decided to experiment with a hot glue gun resist art project.
Supplies
This post contains affiliate links for your convenience.
- Hot Glue Gun
- Canvas Boards
- Paint
- Pastels
How to make Hot Glue Gun Resist Art
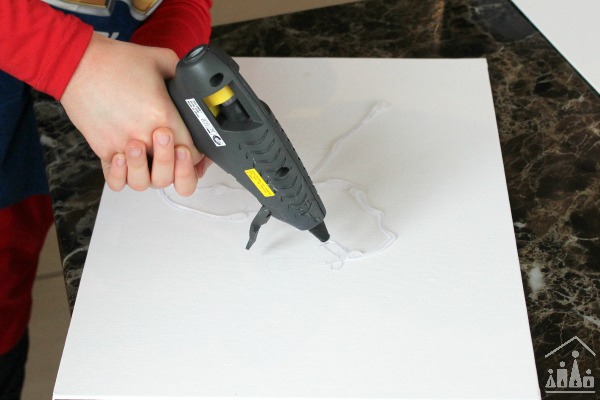
Squeeze out the hot glue in a haphazard fashion all over the canvas board. Being very careful not to touch the very hot glue. You know your own kids and their capabilities, so it’s up to you if you let them to this or you do it for them.
Leave it to cool for a few minutes and then start to add some colour to your art project.
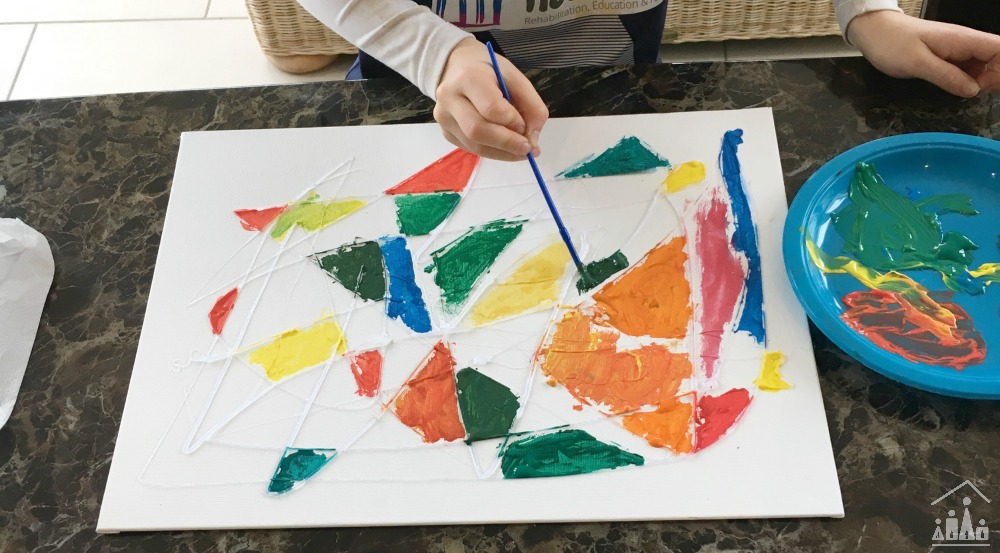
Fill in the spaces between the glue with paint, crayon, pastel or pen.
Once you have done, you can then peel off the blue, but only if you want too.
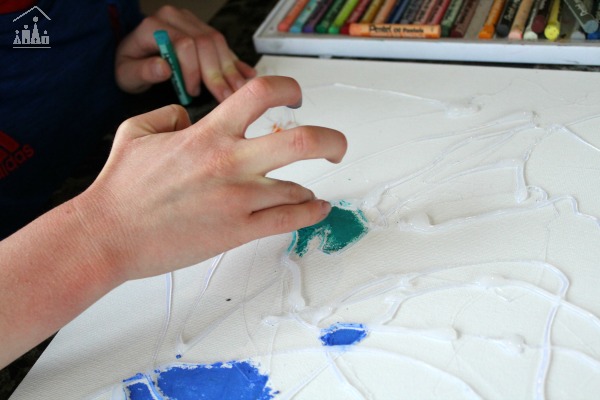
My eldest son loves to experiment with different techniques and materials on his projects. He happily smudged and blended different coloured pastels in between the raised glue lines on his picture.
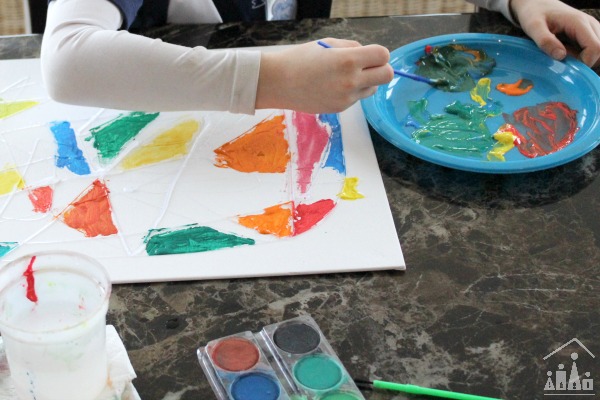
My middle son chose paint for this glue resist picture. After pouring an artists palette onto a plate, he dabbed paint in between the glue until all the spaces had been filled.
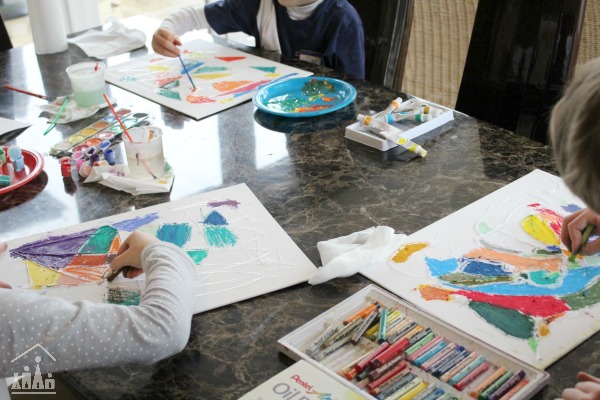
My daughter choose a mixture of the two. She likes to keep her options open!
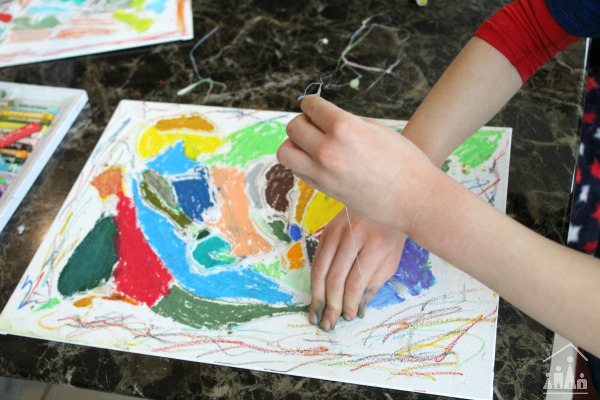
I had planned to leave the glue in place, but my eldest son had other ideas. He wanted to remove it. I watched on nervously as he peeled it off the canvas, but thankfully it came away without causing any damage to his canvas. And it looked pretty cool, well he thought so anyway which was the main thing.
Don’t forget to grab your FREE copy of our eBook 25+ Kids Painting Ideas
Spring Activities for Kids

